What can I use if I don’t have a pottery wheel?
Pottery doesn’t have to be made on a potter’s wheel to be beautiful. In fact, many lovely pieces of pottery are hand-built without a wheel. Some hand-building techniques are quite simple – though you might need to practice to perfect your style. That’s all part of the fun!
It’s entirely possible to make lovely pottery without a wheel – and in this article, we’ll cover four different hand-building techniques that are simple yet versatile, allowing for endless personal style. Don’t have time to read the whole article? Just click on the link below to jump to the technique you’re interested in.
- – Coil pots
- – Pinch pots
- – Molds (hump molds, slump molds, press molds)
- – Slab building
How to Make Pottery Without a Wheel
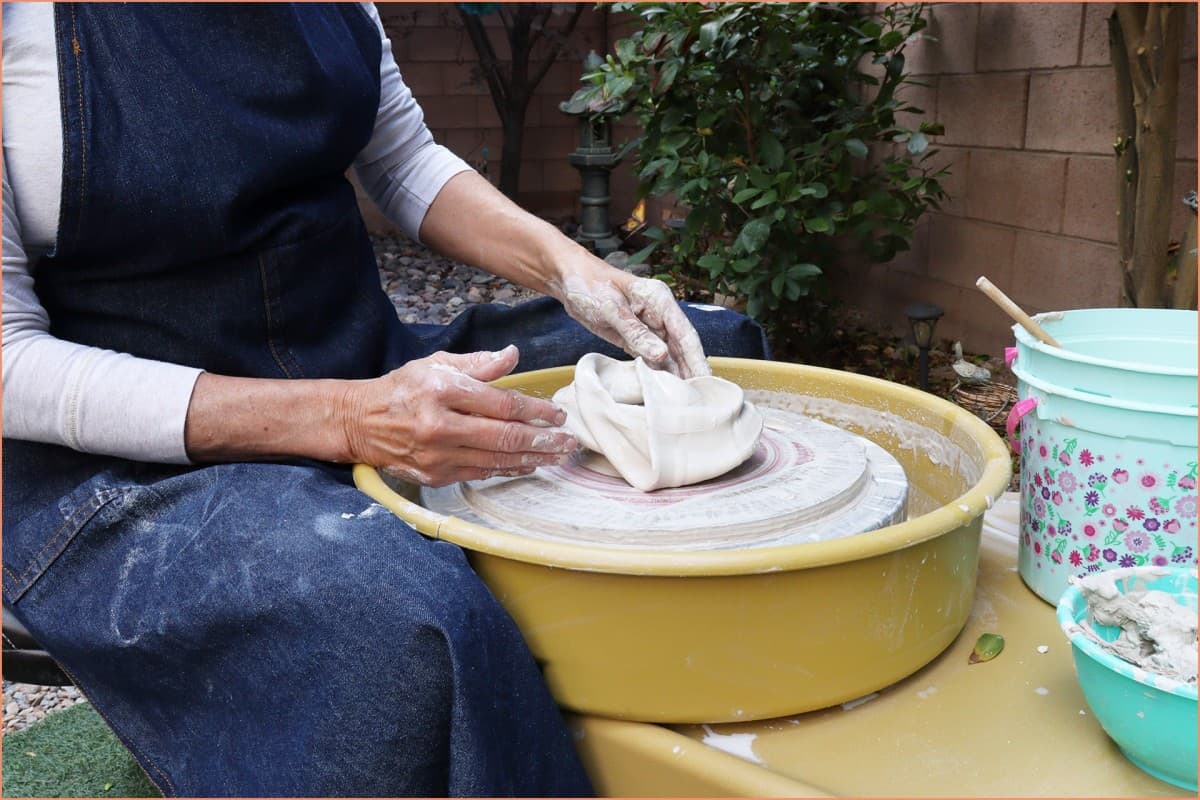
This is a fun and simple way to hand-build pottery without a wheel!
Post Content
How to Make a Coil Pot
There are several ways to make coil pots, and the techniques can range from very simple to more complex forms. Coil pots are made from coils of clay, and the simplest form is a free-standing coil pot. I will describe lumbuy how to make a free-standing coil pot and then go on to describe more complex forms.
After you have a firm grasp of the basics, you can attempt something more intricate. By having command of the basics, you can play around and develop your own technique.
The first step to creating a coil pot, is to make coils out of clay—which may seem incredibly elementary, but making a coil is an art in itself.
First Things First: How to Make a Coil
There are different ways that potters make coils, but the method described below is the one that works best for me. It’s also quite common, so you may already be familiar with it.
Start by taking a piece of clay and rolling it into a ball in your hand. Once it’s smooth, squeeze it into a sausage shape. Then, roll it between your fingers or palms to make it longer.
As you roll the clay into a coil, be sure to twist each end every few rolls to prevent flattening. You should also roll with your hands moving outwards towards the ends of the coil, which will stretch the clay and give you a longer, thinner coil.
If you find that your coil is flattening or feels awkward to roll, pat it into a round shape. Then, use the trick of twisting the ends and continue rolling. If there are creases or cracks in your coil, simply smooth them out and continue until your coil is finger-thick or the width of your pinky finger. Some potters recommend making the coil finger-thick while others recommend the width of your pinky finger. I personally use a mixture of both methods.
Making coils before you start building can be helpful, especially if you plan on working with them right away. If you make them in advance, be sure to cover them with plastic wrap so they don’t dry out. I usually make coils as I go along because it allows me to be more flexible with the thickness and I can also take breaks in between to avoid repetitive strain.
Making a Very Simple Coil Pot
Coil pots are an excellent way to make pottery without using a pottery wheel. You can make your coil pot as simple or complex as you desire.
To create a basic coil pot, start by rolling out some clay with a rolling pin. To ensure an even thickness, place wooden dowels on either side of the clay slab. The width of your batten will determine the thickness of your slab. You can also use rolling pin guide rings, which I find to be helpful when working with large slabs but not necessarily with smaller ones.
Joining the Coil to the Base
In order to attach a coil securely to a base, you need to slip and score the two surfaces and press them together. This technique involves scratching the surface of the clay with a needle tool and then wetting the scratched surface.